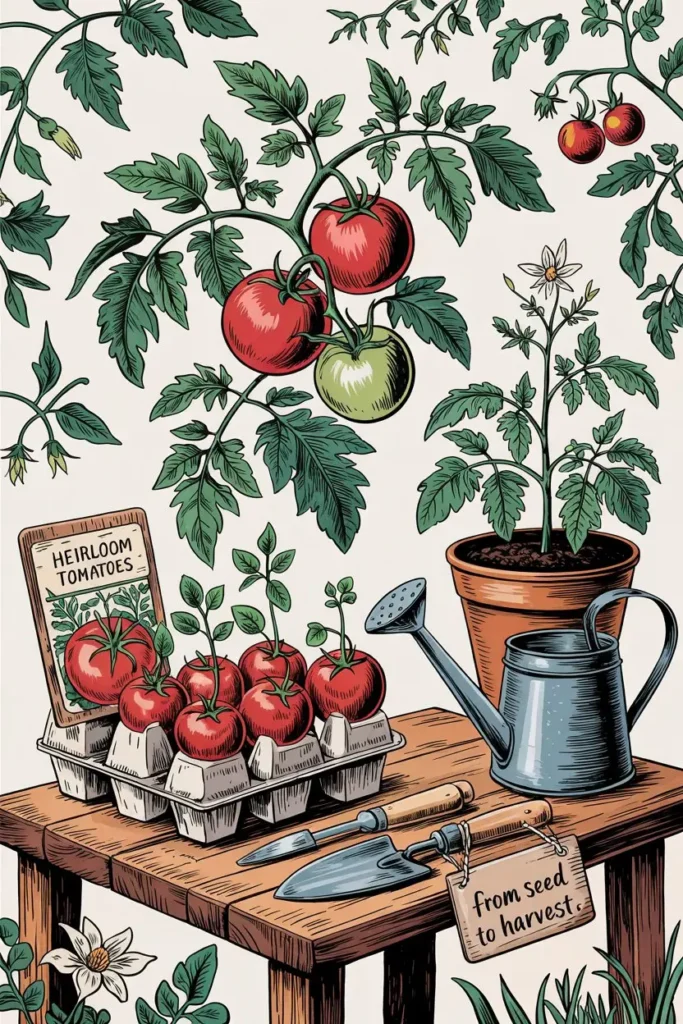
How to Grow Tomatoes from Seeds, there’s nothing quite like biting into a sun-warmed tomato you’ve grown from a tiny seed. While nursery seedlings are convenient, starting tomatoes from seeds offers unmatched variety (think heirloom Brandywines or exotic Black Krims), cost savings (a $3 packet yields 50+ plants), and the joy of nurturing life from scratch.
As a gardener who’s grown over 30 tomato varieties, I’ve made every mistake in the book from overwatering sprouts to misjudging frost dates. This guide combines my hard-earned lessons with science-backed methods to ensure your tomato journey thrives. Let’s dig in!
Table of Contents
Part 1: Pre-Planting Preparation

1. Choosing the Right Tomato Varieties
| Type | Best For | Examples | Days to Maturity |
|---|---|---|---|
| Cherry | Snacking, containers | Sun Gold, Sweet Million | 55 – 65 days |
| Beefsteak | Slicing, sandwiches | Brandywine, Mortgage Lifter | 80 – 100 days |
| Paste | Sauces, canning | San Marzano, Roma | 70 – 80 days |
| Dwarf | Small spaces, indoor growing | Tiny Tim, Red Robin | 45 – 60 days |
Pro Tip: Check seed packets for terms like “determinate” (bushy, one harvest) or “indeterminate” (vining, continuous harvest).
2. Gather Supplies
- Seeds: Heirloom or hybrid (I recommend Burpee or Baker Creek).
- Containers: Seed trays, peat pots, or recycled egg cartons.
- Soil: Seed-starting mix (lightweight, sterile).
- Tools: Heat mat, grow lights, spray bottle, labels.
- Extras: Diluted fish emulsion (for fertilizing later).
Budget Hack: Use yogurt cups with drainage holes poked in the bottom.
Part 2: Step-by-Step Seed Starting Guide on how to grow tomatoes from seeds
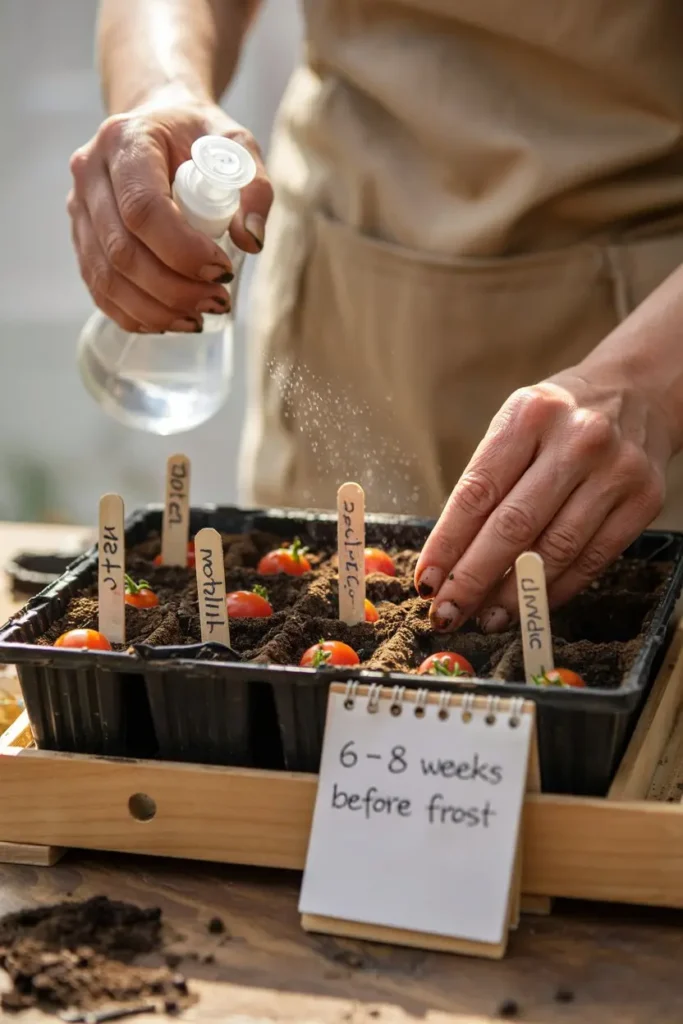
1. Timing is Everything
- When to Start: 6 – 8 weeks before your last frost date (find yours here).
- Example: Last frost = April 15 → Start seeds indoors between Feb 15 – March 1.
2. Planting Seeds
Step 1: Fill trays with damp seed-starting mix.
Step 2: Plant seeds ¼” deep (2 – 3 per cell).
Step 3: Cover lightly with soil, mist with water, and label varieties.
Pro Tip: Bottom-water trays to prevent dislodging seeds.
3. Germination Station

- Ideal Conditions: 70 – 80°F soil temp + consistent moisture.
- Hack: Cover trays with plastic wrap or a humidity dome until sprouts appear (4 – 10 days).
- Heat Mat: Boosts germination rates by 50% (set to 75°F).
Visual Guide:
Part 3: Seedling Care (Weeks 1 – 4)
1. Light Requirements
- Natural Light: South-facing window (rotate trays daily).
- Grow Lights: LED or fluorescent lights 2 – 4” above seedlings (14 – 16 hours/day).
Sign of Success: Stocky stems + dark green leaves.
2. Watering Wisely
- Avoid Overwatering: Let soil dry slightly between waterings.
- Method: Use a spray bottle or bottom-watering tray.
Pro Mistake: I once drowned seedlings by watering daily they turned yellow and flopped!
3. Fertilizing
- When: After first true leaves appear (not cotyledons!).
- What: Diluted fish emulsion (½ strength) every 2 weeks.
Visual Guide:
Part 4: Transplanting Seedlings
1. Potting Up
- When: 3 – 4 sets of true leaves.
- How: Gently transfer to 4” pots filled with potting mix. Bury stems up to the lowest leaves (roots will form along the stem).
2. Hardening Off

- Process: Gradually expose plants to outdoor conditions over 7 – 10 days.
- Day 1: 1 hour of shade → Day 7: Full sun all day.
Visual Guide:
Part 5: Planting in the Garden
1. Site Selection
- Sun: 6 – 8 hours daily.
- Soil: Well-draining, pH 6.0 – 6.8 (test with a $15 kit).
2. Spacing
- Determinate: 2 – 3’ apart.
- Indeterminate: 3 – 4’ apart + sturdy trellis.
Pro Tip: Add crushed eggshells to planting holes for calcium.
3. Post-Planting Care
- Watering: Deeply 2 – 3x/week (avoid wetting leaves).
- Mulch: Straw or shredded leaves to retain moisture.
- Support: Install cages/stakes early to avoid root damage.
Visual Guide:
Part 6: Troubleshooting Common Issues

| Problem | Cause | Fix |
|---|---|---|
| Yellow Leaves | Overwatering, nitrogen deficiency | Reduce water, apply compost tea |
| Blossom End Rot | Calcium deficiency | Add lime, consistent watering |
| Hornworms | Green caterpillars | Handpick, use BT spray |
| Leaf Curl | Heat stress, over-pruning | Shade cloth, avoid overwatering |
Visual Guide:
Part 7: Harvesting & Saving Seeds
1. When to Pick
- Color: Fully red (or variety-specific hue).
- Feel: Slight give when squeezed.
2. Seed Saving
- Heirlooms Only (hybrids won’t breed true):
- Ferment seeds in water for 3 days.
- Dry on paper towels.
- Store in labeled envelopes.
Visual Guide:
FAQ Section
Why are my seedlings leggy?
Insufficient light! Move them closer to windows or add grow lights.
Can I grow tomatoes indoors?
Yes choose dwarf varieties and use full-spectrum LED lights.
How often should I fertilize mature plants?
Every 3 – 4 weeks with balanced fertilizer (10-10-10).
Why are my tomatoes cracking?
Inconsistent watering. Use drip irrigation or soaker hoses.
Can I plant store-bought tomato seeds?
Yes, but hybrid varieties may not produce true-to-type fruit.
Conclusion: Your Tomato Journey Starts Now
Growing tomatoes from seeds is equal parts science and art. Whether you’re nurturing a single potted plant or a backyard jungle, each step from sprout to harvest is a lesson in patience and care. Remember, even the pros lose a plant or two. What matters is getting your hands dirty and savoring the rewards.
Next Steps:
- Share Your Progress: Tag us on Instagram with #TomatoJourney.
- Join Our Newsletter: Get free weekly care reminders.
- Explore More: Master soil prep with our Soil 101 Guide.
